An introduction to Redpanda: Creating a chat application in Python in less than 100 lines of code.

One of the biggest challenges software engineers — especially beginners — face is learning how to use a new piece of technology. This is to a large extent true for streaming data platforms, as they are considered advanced by nature.
In this tutorial, we will create a simple terminal-based chat application in Python using Redpanda. We will cover the basics of Redpanda and how to use Python to create a producer, a consumer, and even topics, which will be used as the central log to store our messages.
To communicate with Redpanda from Python we will use the kafka-python library. Because Redpanda offers an Apache KafkaⓇ-compatible API, we can use any Kafka client to interact with it.
All the code shown in the article is available in this repository. Let’s dive in!
The Broker
At the center of Redpanda is the broker. It is responsible for storing messages in topics, which are further divided into partitions. A partition is a sequence of messages that are appended to and read from in order. A topic can have one or more partitions. A cluster is a group of brokers that work together to provide redundancy and high availability of the partitions. Each partition is replicated to one or more nodes in the cluster. This way, if a node goes down, the data is still available for consumption and production, without skipping a beat.
To start a Redpanda cluster (of one broker, which is enough for development), the easiest way is to use rpk which is a command line tool created to configure, manage, and tune Redpanda clusters.
Make sure you have Docker installed and running on your machine before continuing.
Redpanda is loved by developers and architects for its ability to start up a local cluster very quickly with just the following command:
rpk container start -n 1After a few seconds (rpk might need to download the latest Redpanda image) you should see a message that says:
Starting clusterWaiting for the cluster to be ready... NODE ID ADDRESS 0 127.0.0.1:57232 Cluster started and exposed on the ip:port! You may use `rpk` to interact with it outside of your docker container. E.g:rpk cluster info --brokers 127.0.0.1:57232The cluster is now ready to use. As the message says, you can check the status of the cluster by running:
rpk cluster info --brokers 127.0.0.1:57232Which should return:
BROKERS=======ID HOST PORT0* 127.0.0.1 57232Great! Now that we have a cluster up and running, let’s see how to interact with it from Python. Make note of the HOST and PORT values. We'll need them later in order to connect to our cluster.
The Python client
As we mentioned earlier, to interact with Redpanda from Python, we’ll use the kafka-python. To install it, run:
pip install kafka-pythonBy design,kafka-python is very similar to the official Java client, with some extra Pythonic stuff included, such as iterators for consumers (we'll see this in action in the Consumers section!).
The Producer
A producer is a client application that sends messages to a Redpanda cluster, which are stored in so-called topics.
For more advanced producer configuration options, see this producer deep dive article.
With the kafka-python library, we can create a simple producer like this:
from kafka import KafkaProducer

producer = KafkaProducer(bootstrap_servers="127.0.0.1:57232")
The bootstrap_servers parameter is a list of brokers that the producer will use to connect to the cluster, in a large cluster you simply need to provide one or a few broker addresses and they will provide back a list of all of the brokers to connect to if you specify several bootstrap servers it simply provides a means for redundancy in case one of them is down. In our case we only have one broker, so we can just use the HOST and PORT values we noted down earlier.
If you run this snippet, the output will be nothing, which is expected. The producer is created but it doesn’t do much yet.
Let’s send a message to a topic. We can do this by calling the send method on the producer:
producer.send(topic='my-topic', value=b'Hello, world!')The value parameter is self-explanatory, it's the actual string that we want to store in Redpanda. The type of the value has to be bytes (or has to be serializable to bytes by a custom serializer, but this is out of the scope of this tutorial, so let's just stick with a byte-string for now).
But wait, what is my-topic? We haven't created any topics yet. Let's do that now. We could do it from the command line using rpk, but we can also do it from Python, which is the more interesting part for us!
The Topics
A topic is a log of messages that are stored in Redpanda. Each topic has a unique name and can have 1 or more partitions.
To create a topic in Python, we can use the KafkaAdminClient class from kafka-python:
from kafka.admin import KafkaAdminClient, NewTopicadmin_client = KafkaAdminClient(bootstrap_servers='127.0.0.1:57232')admin_client.create_topics(new_topics=[NewTopic(name='my-topic', num_partitions=1, replication_factor=1)])There are a few things to note here. First, we are using the KafkaAdminClient class to create the topic. This allows us to communicate with the Admin API of Redpanda. The NewTopic class is used to define the topic. The name is the name of the topic, num_partitions is the number of partitions that the topic will have and replication_factor is the number of replicas that each partition will have.
Let’s run the snippet and quickly verify that the topic was created:
rpk topic list --brokers 127.0.0.1:57232Should return:
NAME PARTITIONS REPLICASmy-topic 1 1The Producer, again
Alright, now that we have a topic, let’s try sending a message again:
producer.send(topic='my-topic', value=b'Hello, world!')This time, our producer will send the message to Redpanda, which will store it in the my-topic topic. But how do we know that it worked? In the next section we'll see how to consume messages from a topic.
The Consumer
A consumer is a client that reads messages from a topic. Consuming is the act of reading messages from a topic. The setup is similar to Producers, but there are a few different configuration options.
To create a basic consumer, we can do this:
from kafka import KafkaConsumerconsumer = KafkaConsumer(bootstrap_servers='127.0.0.1:57232')Again, we are using the bootstrap_servers parameter to connect to the cluster. If not specified, the consumer will not do much by itself, we have to tell it which topics data to read! This is called subscribing to a topic.
consumer.subscribe(topics=['my-topic'])After subscribing to a topic, we can start consuming messages. The consumer object is an iterator, so we can use it in a for loop:
for message in consumer: print(message)If we run this snippet, we will see that it will block and wait for new messages to arrive. This is because we haven’t specified that we want to consume from the beginning of the topic. By default, the consumer will only read new messages.
Let’s modify the consumer to read from the beginning of the topic:
consumer = KafkaConsumer(bootstrap_servers='127.0.0.1:57232', auto_offset_reset='earliest')The auto_offset_reset parameter specifies where the consumer should start reading from. In this case, we are telling it to read from the beginning of the topic.
Now, if we run the consumer snippet again, we should see the message that we sent earlier:
ConsumerRecord(topic='my-topic', partition=0, offset=2, timestamp=1663068430936, timestamp_type=0, key=None, value=b'Hello, world!', headers=[], checksum=None, serialized_key_size=-1, serialized_value_size=13, serialized_header_size=-1)The ConsumerRecord object contains all the information about the message. The value field contains the actual message.
Try sending a few more messages from a different terminal window, and you should see them appear in the consumer in real-time!
Building the chat application
We now know how to send and receive messages from Redpanda, but we haven’t really done anything interesting yet. Let’s build a chat application!
What we want to achieve is a simple command line utility that allows two users to send and receive messages. In the middle of the architecture, we will have Redpanda, which will store the messages and the users will interact with it using the kafka-python library that we have already seen.
Sending messages will be done by a producer client while receiving messages will be done by a consumer client.
We can reuse the broker from the previous part of the article for our app.
Our goal with the application is that after the user starts it, it should be able to handle three things:
- “Connect” to another user
- Send messages to the other user
- Receive messages from the other user
Only one-to-one communication is supported for now, but we can extend this to support multiple users in the future.
We also include the click library for the command line interface, which makes it easy to parse command line arguments and offers helpful utilities such as clearing the terminal screen.
Connecting to a user
The first thing we need to do is to connect to another user. We will do this by asking the user for the username of the target person. We will use this username to create a topic that we will use to share messages from both parties.
This is the function that we will use to do all of this:
def create_chat_room(current_username: str, target_username: str) -> str: # Sort the user pair alphabetically to ensure that the same topic is used for both users chat_topic_name = md5( f"{'-'.join([u for u in sorted([current_username, target_username])])}".encode() ).hexdigest() admin_client = KafkaAdminClient( bootstrap_servers=BOOTSTRAP_SERVERS, client_id="chat-app" ) # Check if the topic already exists first, if not, create it! existing_topics = admin_client.list_topics() if chat_topic_name not in existing_topics: admin_client.create_topics( [NewTopic(chat_topic_name, num_partitions=1, replication_factor=1)] ) return chat_topic_nameSo, what does this function do? First, we sort the usernames alphabetically, and then we hash the result. This ensures that the same topic is used for both users. This transformation is also deterministic so if we “log in” with the same username later and add the same target username the function will generate the same topic name, which means we can “reconnect” to the chat, seeing all the previous messages. We then use the KafkaAdminClient to check if the topic already exists. If it doesn't, we create it, and finally, we return the name of the topic.
Message structure, serialization, and deserialization
Data in Kafka lives as bytes, so when we produce messages we’ll always have to convert them into this format and when consuming them we will always do the inverse operation to transform them into something more interpretable.
In this tutorial our messages will be wrapped as a basic Python dictionary to make it easier as this way we can use built-in serializers and deserializers but if you were to wrap your messages in a more complex format, for example a custom class that includes various types you might need to write your own serializer and deserializer functions!
Sending messages
Now that we have a topic, we can start sending messages. We will use the KafkaProducer class to do this:
def send_message( producer: KafkaProducer, message_text: str, chat_topic_name: str, current_username: str,) -> None: payload = json.dumps( { "timestamp": datetime.now().strftime("%Y-%m-%d %H:%M:%S"), "message": message_text, } ) producer.send( topic=chat_topic_name, key=current_username.encode("utf-8"), value=payload.encode("utf-8"), )The KafkaProducer class is initialized with the bootstrap_servers parameter, which we already know. We also specify a key for the message. This key will be used to identify the sender of the message. The value is the actual message that we want to send.
Receiving messages
Receiving messages is done by the KafkaConsumer class:
def read_messages(topic: str, message_history: List[str]) -> None: consumer = KafkaConsumer( topic, bootstrap_servers=BOOTSTRAP_SERVERS, ) for message in consumer: click.clear() message_history.append(parse_message(message)) for _msg in message_history: click.echo(_msg)The KafkaConsumer class is also initialized with the same bootstrap_servers parameter as the producer, so we connect to the same broker. We also tell the consumer to use a specific topic to read messages from, which we created in the first function.
The consumer object is an iterator, so we can use it in a for loop. In the loop, we parse the message and add it to the message history. Finally, we clear the terminal and print the full message history. This can be done in a more efficient way (without rendering the whole history on every new message), but for the sake of simplicity, we will leave it like this.
Putting it all together
Now that we have all the pieces, we can put them together and build the actual application:
@click.command()@click.option("--current-username", prompt="Your username")@click.option( "--target-username", prompt="Target username", help="The person to chat with.")def chat(current_username: str, target_username: str) -> None: producer = KafkaProducer(bootstrap_servers=BOOTSTRAP_SERVERS) chat_topic_name = create_chat_room(current_username, target_username) # Get message history message_history = get_message_history(chat_topic_name) # Start a background thread to read messages from the topic thread = threading.Thread( target=read_messages, args=( chat_topic_name, message_history, ), ) thread.start() while True: message_input = click.prompt("") send_message(producer, message_input, chat_topic_name, current_username)The chat function is the entry point of the application. It takes two arguments: the current username and the target username. We then initialize the producer and create the chat room. We also get the message history and start a thread to read messages from the chat topic. The reason we want to do this in a separate thread is that we want to be able to read messages while we are sending messages. Finally, we start a loop that will prompt the user for a message and send it to the chat. This loop will run until the user exits the application.
The decorator @click.command() tells the click library that this function is the entry point of the application. The @click.option() decorator is used to define command line arguments. In this case, we define two arguments: current-username and target-username. Current username is the username of the user that is running the application. Target username is the username of the user that we want to chat with.
The prompt parameter tells click to prompt the user for the value of the argument. The help parameter is used to display a help message when the user runs the application with the --help flag.
The get_message_history function is used to get the message history from the chat topic. It is implemented as follows:
consumer = KafkaConsumer( topic, bootstrap_servers=BOOTSTRAP_SERVERS, auto_offset_reset="earliest", consumer_timeout_ms=1000, # Exit if no messages after 1 second)messages = []for message in consumer: parsed_message = parse_message(message) messages.append(parsed_message)return messagesWe use the KafkaConsumer class to read messages from the topic. We also specify the auto_offset_reset parameter to be earliest, which means that we want to read all messages from the beginning of the topic. We also set the consumer_timeout_ms parameter to 1000, which means that the consumer will exit if no messages are received after one second. This is done to prevent the consumer from blocking the thread forever.
Running the application
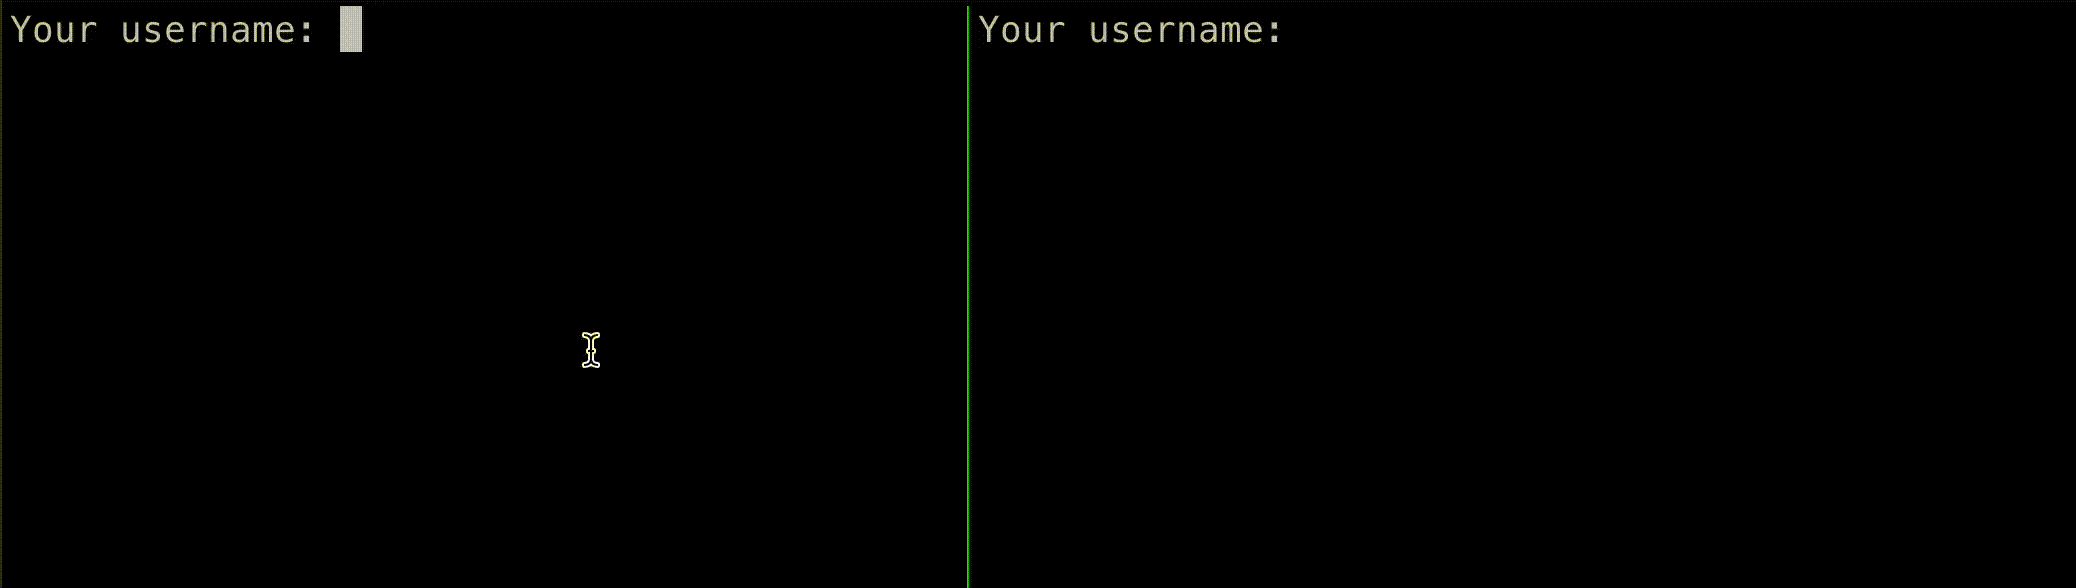
Now that we have the application, we can run it and see how it works. We will start two instances of the app, one for each user:
First terminal:
$ python chat.pyYour username: DaniTarget username: MarciSecond terminal:
$ python chat.pyYour username: MarciTarget username: DaniWe can now send messages from one user to the other, and we can see that the messages are received in real-time:

Another neat feature of Redpanda is that we can read messages from the beginning of the topic. This means that we can read all the messages that were sent before we started the application, for example, when “reconnecting” to the chat.
The end of WhatsApp and iMessage?
Probably not, but now you know how easy it is to start building with Redpanda and Python, so go ahead and try it out! If you are looking to get your hands dirty here are a few feature ideas to extend this application:
Allow multiple users to join a single chat. Introduce schemas for the records sent and received in the application. This will help document the structure of the messages and will make updating them a lot easier in the future! For a great guide on the details make sure to check out Ben Pope’s article about the native Schema Registry of Redpanda. Implement some user authentication!
Member discussion